The Summer of Making

Ever since I soldered my first electronics kit (an Adafruit MintyBoost) together two years ago, I've been dedicating time to making something every week. This summer was a busy one, and I thought I'd share two things I worked on with you all.
Weather Station
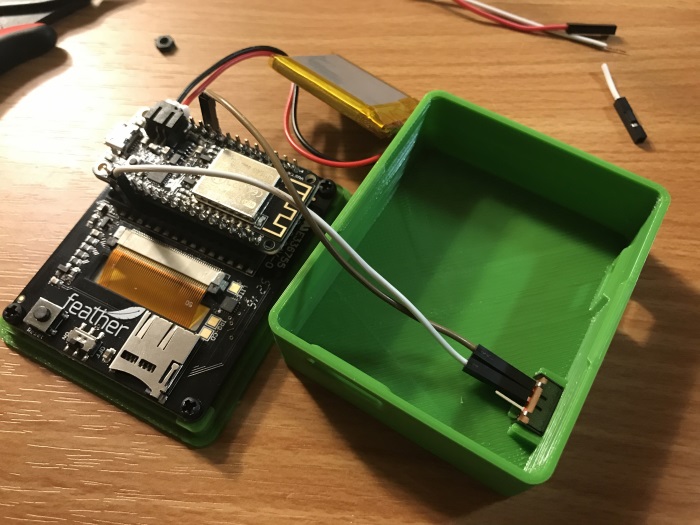
For my Dad's birthday, I decided to make an ESP8266-powered weather station using the Ruiz Brothers' tutorial on Adafruit. The screen is an AdaFruit TFT FeatherWing with a backpack slot on the rear for my beloved project workhorse, the HUZZAH with ESP8266 WiFi. This project actually had a on/off switch (a first for me) -- I had to wire up the switch directly to the EN and GND pins on the microcontroller and trim a few wires, but nothing too tricky!
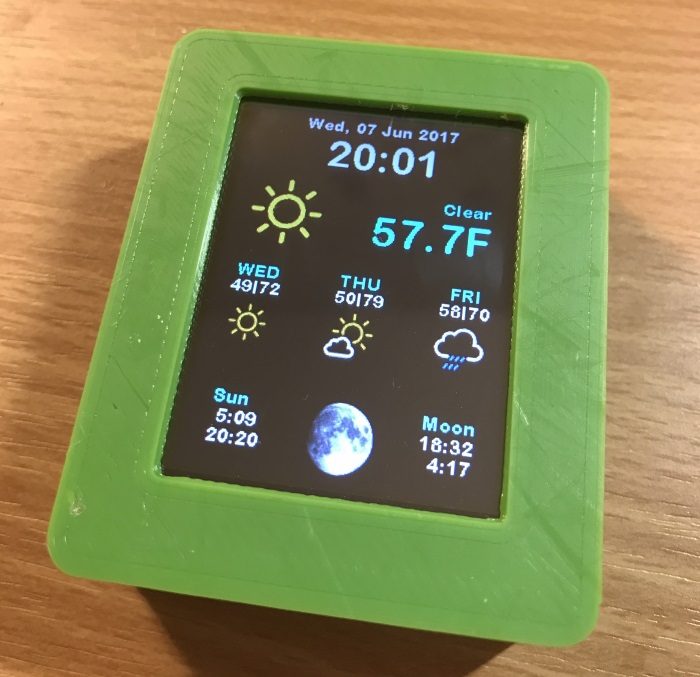
I have a LulzBot Mini 3D printer, so I used Verbatim's excellent PLA plastic filament to print out the case. I can't recommend it enough -- I started with some significantly more temperamental filament and was amazed at how nice the Verbatim PLA prints looked.
I think it turned out really snazzy once it was assembled!
Raspberry Pi Tablet
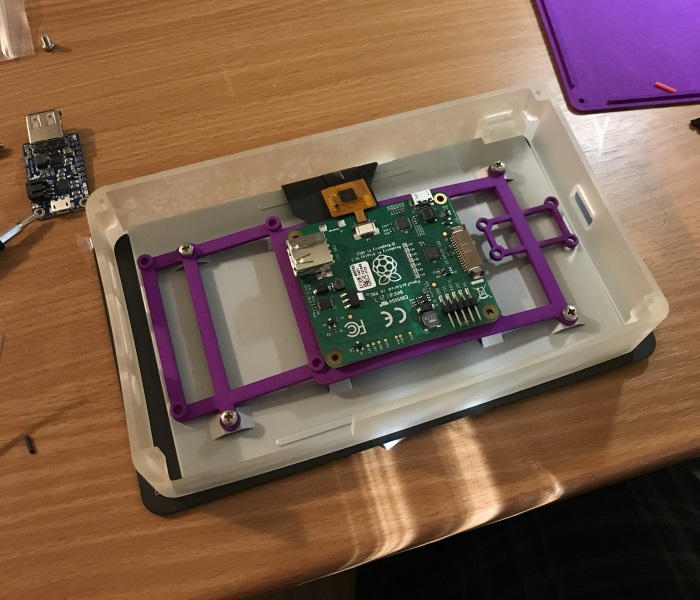
This was another Ruiz Brothers project: take a Raspberry Pi 3 and the official Pi Foundation touchscreen, then merge them in to a somewhat unwieldy tablet! I started by getting the case and interior parts printed at Shapeways (if you decide to do this and want 15% off your first order, you can use my referral code G7JF7). I wanted to use nylon for the case exterior, but I don't have much experience printing with it, and the exterior shell was too large for the Lulzbot. Don't be like me and get the interior parts printed in a different material -- nothing fit quite right...
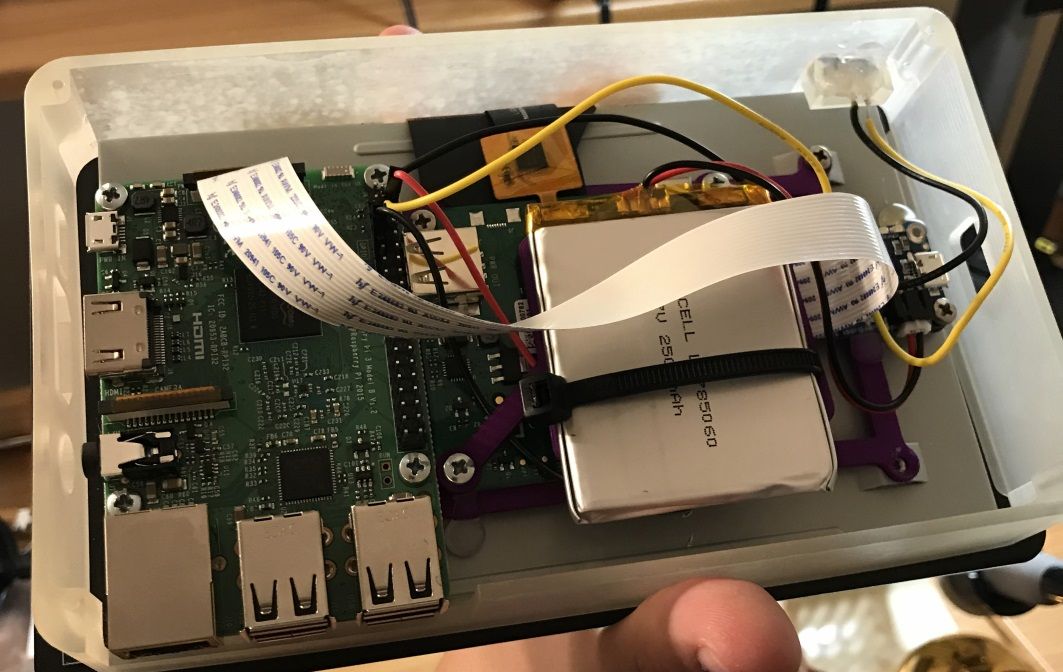
The official Pi Display draws a lot of current, so I put an Adafruit PowerBoost 1000C in. It doubles as a charger for the 2500mAh lithium polymer battery, and is smart enough to switch over to mains power when it's plugged in. Plus, you can still use the tablet while it's charging.
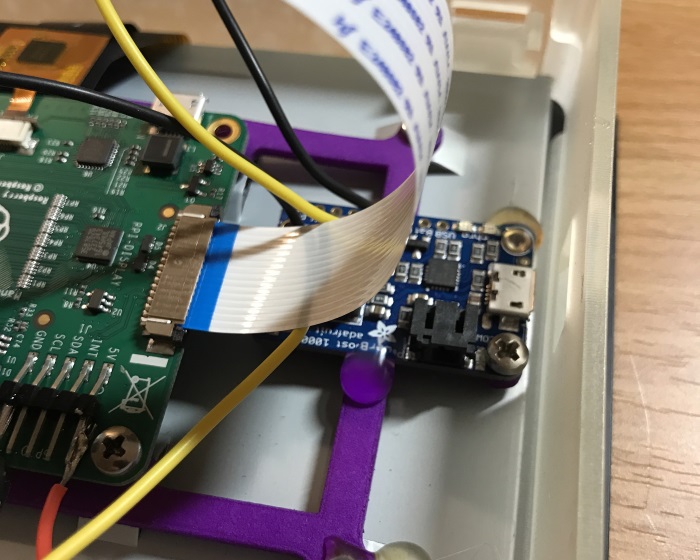
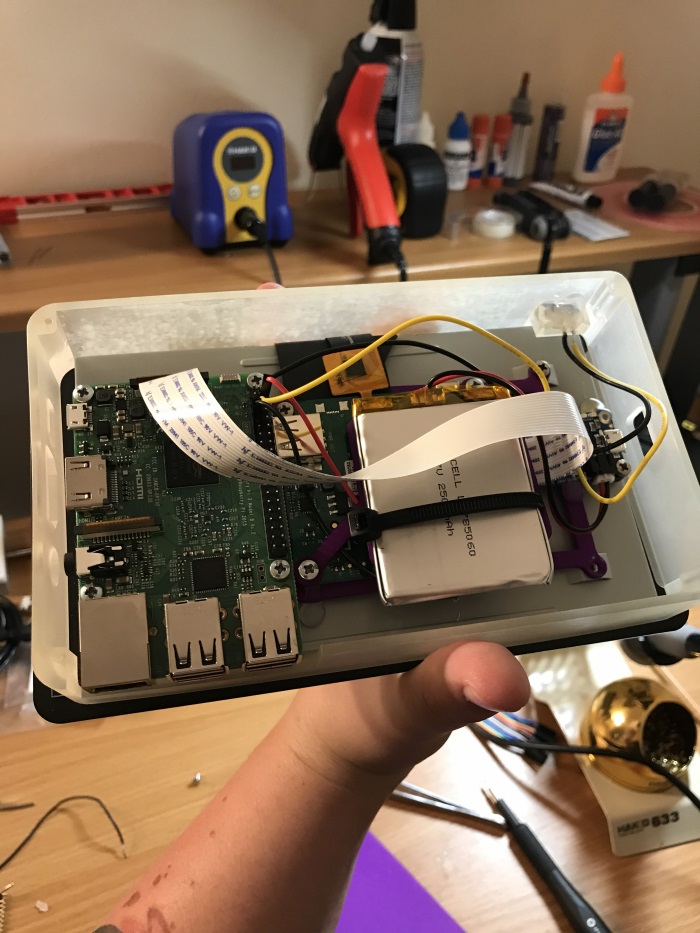
Here's everything wired up. Not pictured: my attempt at potting the Raspberry Pi 3's GPIO connector with epoxy to make sure my solder connections didn't come undone. It was...er...messy. I'd recommend doing it in a tin or container instead of on your workbench.
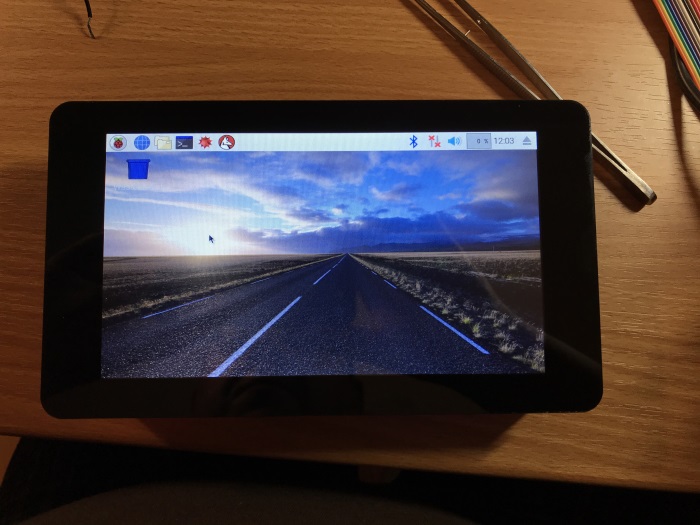
And here's the finished product not exploding in a cloud of blue smoke! The touchscreen works out of the box without calibration, but there's no on-screen keyboard built in to Raspbian. I have heard good things about Matchbox, which you can install using sudo apt-get install matchbox-keyboard in the Terminal. The folks over at ModMyPi recommend setting up a desktop shortcut for Matchbox so that it's easier to launch if you decide to go this route.
 .
.
Here's to making! I'll be assembling a Planck 40% keyboard sometime soon, and hope to record the process!